* docs: more updates

* minor changes

* workflow

* yarn

* structure

* more updates

* cleanup

* additional cleanup

* docs

* interact with node

* additional guides and testnet docs

* update swagger

* update docs

* action
2.4 KiB
Remix
Set up a Remix Ethermint local development environment. {synopsis}
Pre-requisite Readings
- Installation {prereq}
- Run a node {prereq}
- Metamask {prereq}
Remix is an in-browser IDE for Solidity smart contracts. In this guide, we will learn how to deploy a contract to a running Ethermint network through Remix and interact with it.
Connect Ethermint account to Remix
First, follow the steps in the Metamask guide to import your Ethermint private key into Metamask. Start the Ethermint daemon and rest server.
Once that is complete, go to Remix. There are some contracts in the File Explorer. Select any of these contracts. In this example, we use Counter.sol from the Truffle guide. On the left-most bar, select the Solidity Compiler and compile the contract.
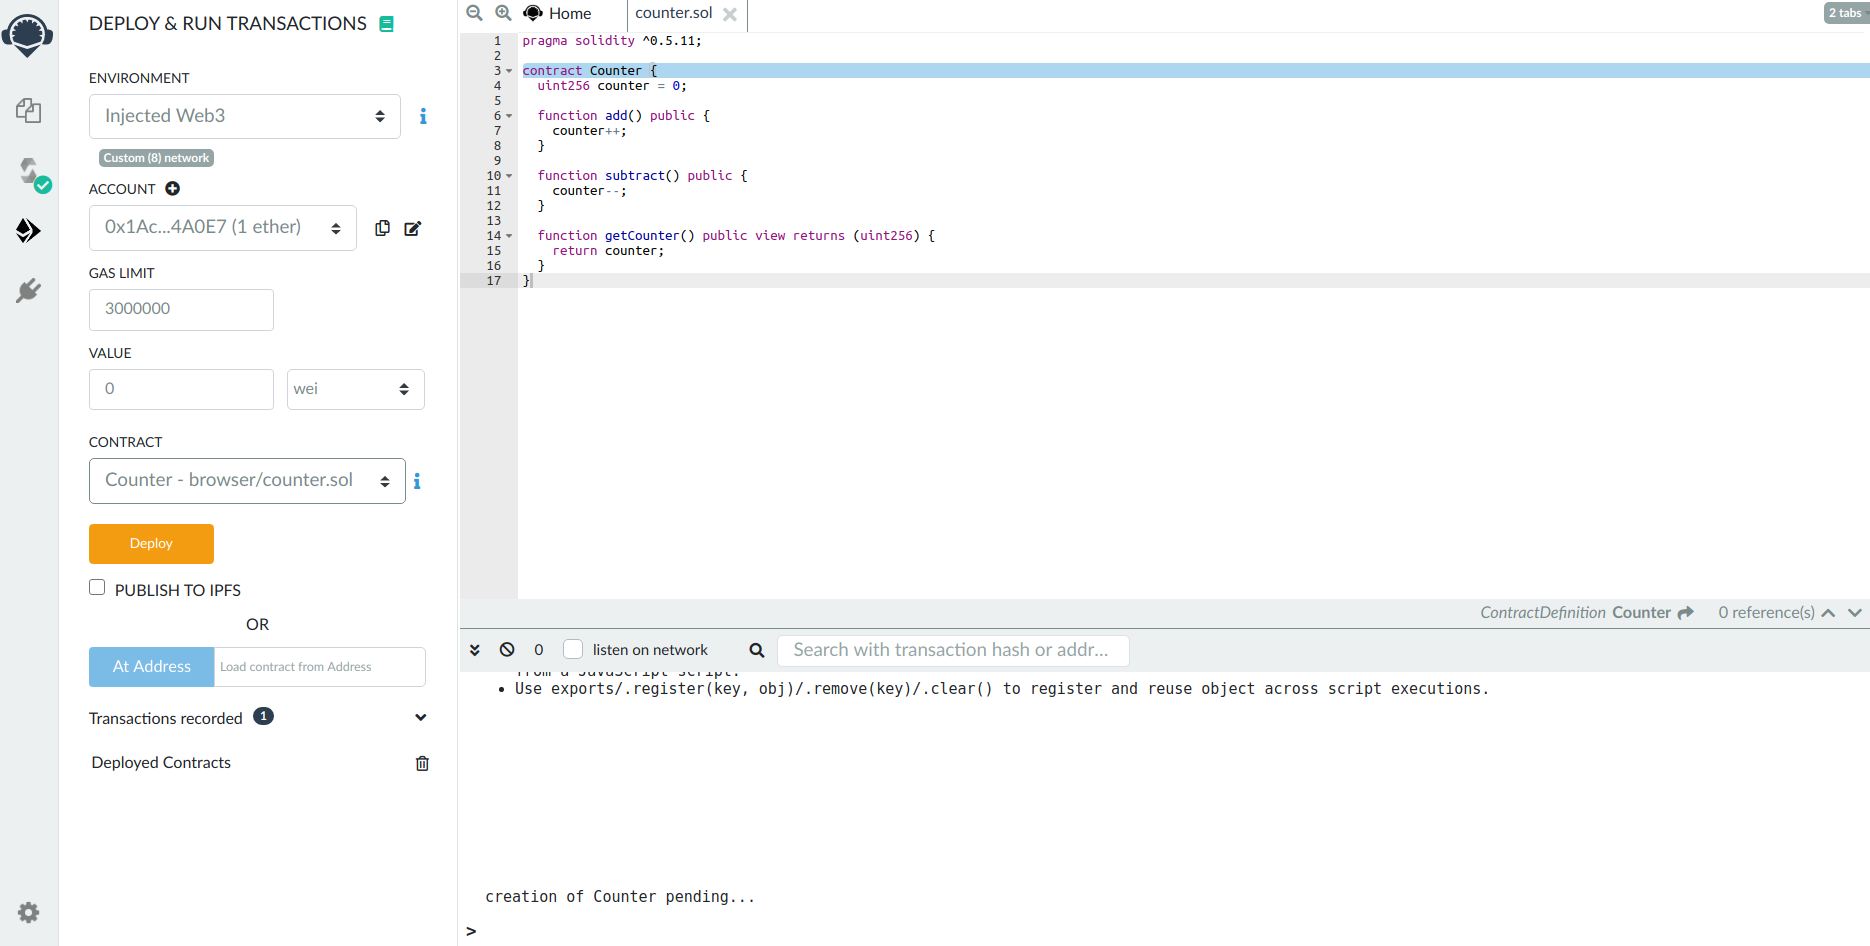
Next, select the Deploy and Run option. Select injected web3 as the environment. This will open a metamask popup for you to confirm connecting your Metamask to Remix. Hit confirm.
You should see your account show up in the left-hand panel.
Deploy and Interact
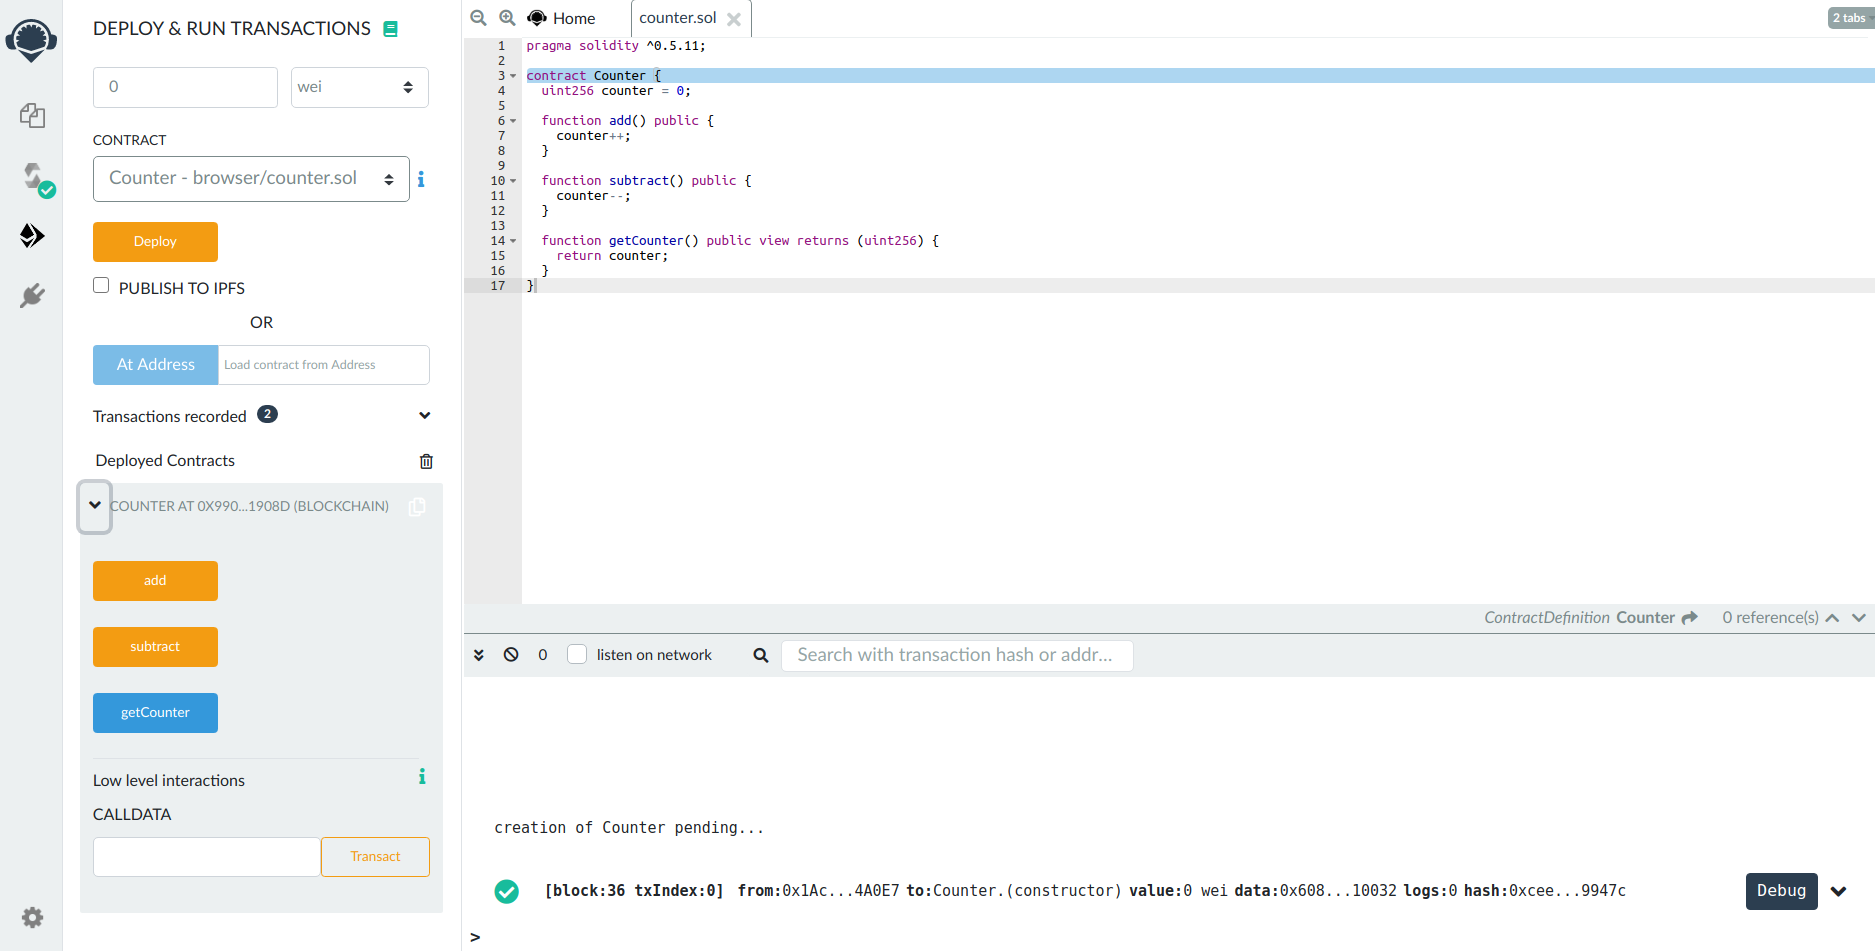
Now that your account is connected, you are able to deploy the contract. Press the Deploy button. A metamask pop-up will appear asking you to confirm. Confirm the transaction. You should see a log for the deployment transaction in the ethermint daemon logs:
I[2020-07-15|17:26:43.155] Added good transaction module=mempool tx=877A8E6600FA27EC2B2362719274314977B243671DC4E5F8796ED97FFC0CBE42 res="&{CheckTx:log:\"[]\" gas_wanted:121193 }" height=31 total=1
Once the contract has been successfully deployed, you will see it show up in the Deployed Contracts section in the left-hand side, as well as a green check in the Remix console showing the transaction details.
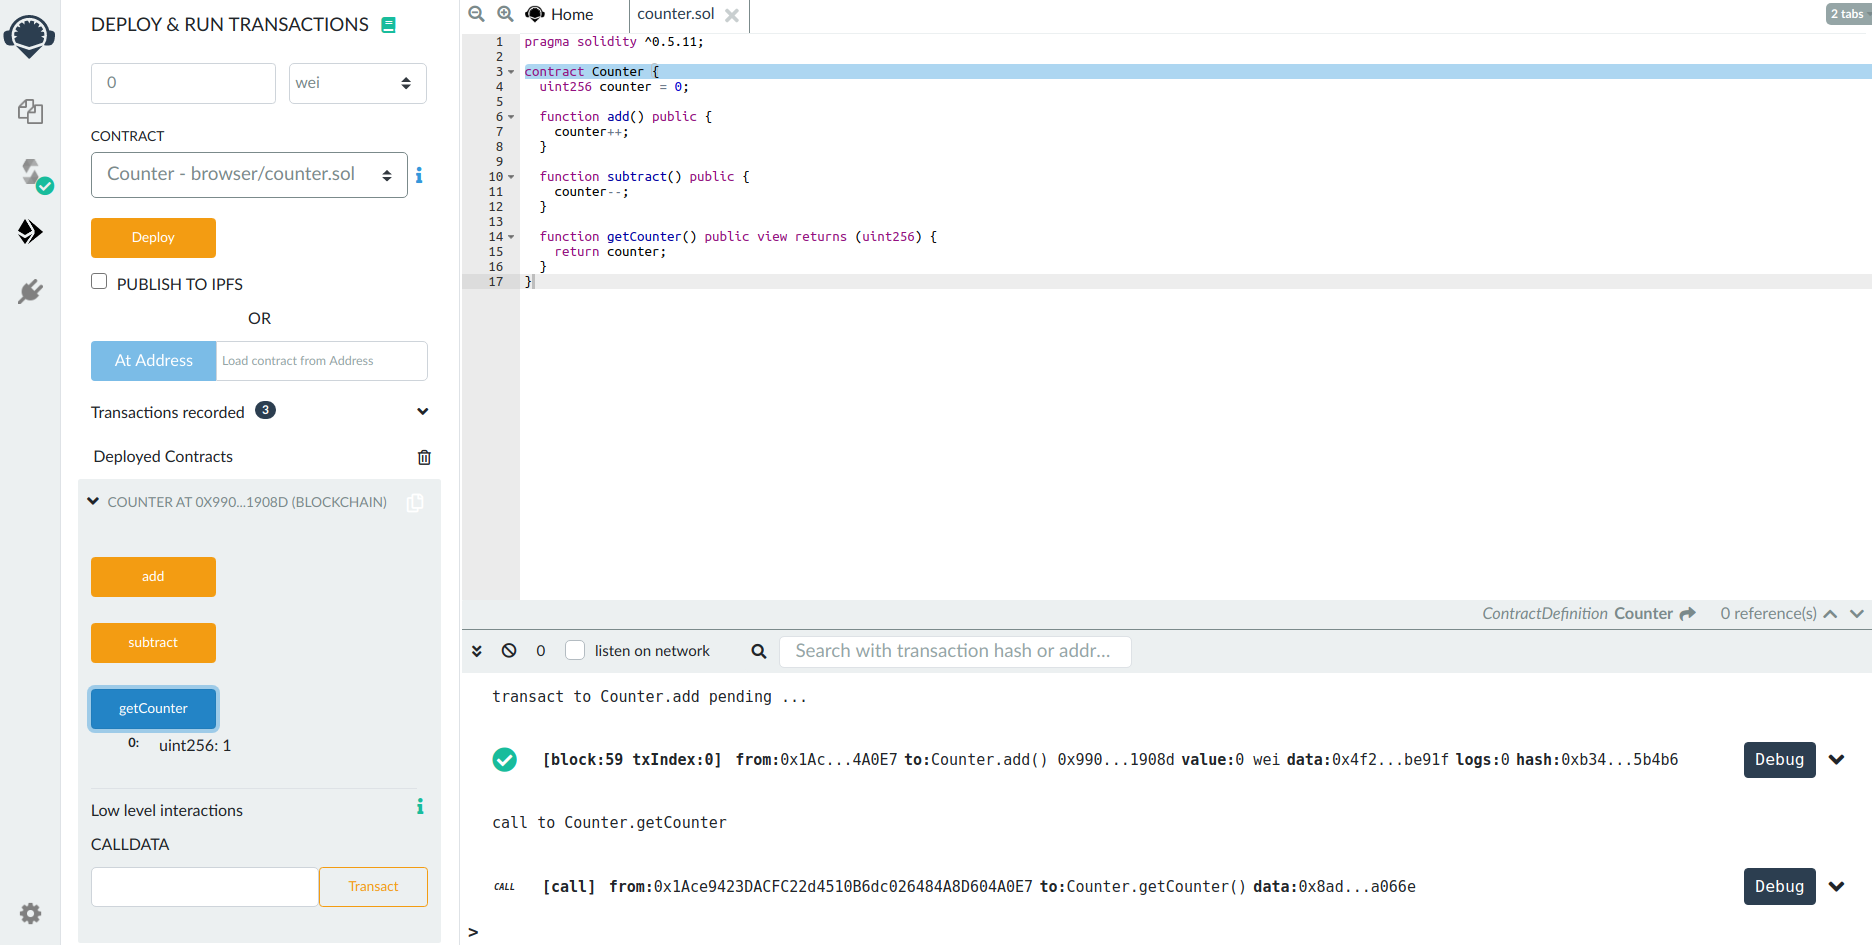
Now, you are able to interact with the contract through Remix. For Counter.sol, click add. This will open a Metamask pop-up asking you to confirm. Confirm the transaction. Then, click getCounter to get the count, which should be 1.


